When it comes to giving your home a fresh look, a professional paint job can work wonders. But before the brushes and rollers come out, there’s a lot to consider in the home painting preparation process. Proper prep is crucial for a smooth finish and long-lasting results. In this guide, we’ll walk you through the essential steps to get your home ready for a paint job, ensuring that everything goes off without a hitch.
Key Takeaways
- Proper surface preparation is key for paint adhesion and a smooth finish.
- Clear the area of furniture and fragile items to make the job easier for painters.
- Use high-quality paint and tools for the best results.
- Don’t forget to remove wall hangings and light fixtures before painting.
- Investing time in preparation can save you from future maintenance issues.
Preparing The Perfect Paint Job
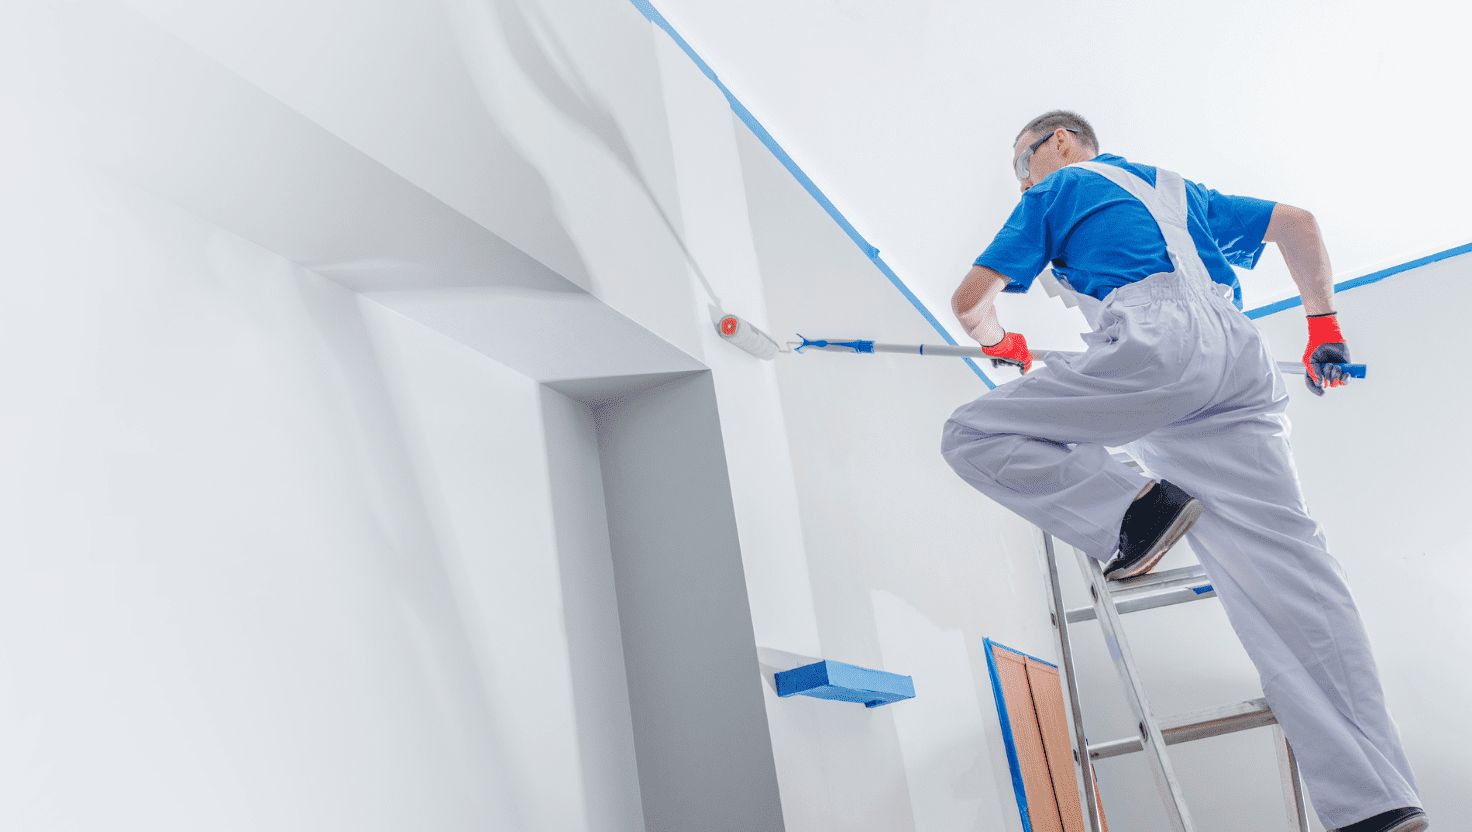
Investing time in prepping your surfaces is the foundation for a successful paint job. It’s not just about slapping on some colour; it’s about ensuring the paint adheres properly, looks great, and lasts. Let’s explore why this stage is so important.
Understanding Surface Preparation
Surface preparation is more than just a quick wipe-down. It’s about creating the ideal canvas for your paint. This involves cleaning, repairing, and smoothing the surface to ensure the paint bonds correctly. Think of it like this: you wouldn’t build a house on a shaky foundation, would you? The same principle applies to painting. A well-prepared surface ensures the paint adheres properly, preventing peeling, bubbling, and other issues down the line. It’s about creating a stable base for a long-lasting finish. If you’re not sure where to start, consider getting some professional painting services to guide you.
Importance Of Quality Materials
Using quality materials is just as important as prepping the surface. Cheap paint might seem like a good idea at the time, but it can end up costing you more in the long run. Quality paint offers better coverage, durability, and colour retention. It also tends to be easier to work with, resulting in a smoother, more even finish. Don’t skimp on the primer either. Primer helps the paint adhere to the surface and can also help to block stains and seal porous materials. Investing in quality brushes, rollers, and other tools can also make a big difference in the final result.
The Role Of Professional Painters
While DIY painting can be rewarding, there are times when it’s best to call in the professionals. Professional painters have the experience, skills, and equipment to handle even the most challenging paint jobs. They can also offer valuable advice on colour selection, surface preparation, and paint types. Hiring a professional painter can save you time, money, and frustration in the long run. Plus, they can ensure a high-quality finish that will last for years to come. If you’re dealing with a large or complex project, or if you simply want to ensure the best possible results, consider getting a quote from a reputable painting company. They can also help with preparing a surface before painting.
Proper surface preparation is the key to a long-lasting and beautiful paint job. It ensures the paint adheres properly, prevents common problems like peeling and bubbling, and ultimately saves you time and money in the long run. Don’t skip this crucial step – it’s the foundation of a successful painting project.
Essential Steps For Home Painting Preparation
Getting your house ready for a paint job might seem like a drag, but trust me, it’s essential. It’s not just about slapping some paint on the walls; it’s about making sure that paint looks good and lasts. So, what are the key steps to prepare your walls before painting? Let’s break it down.
Clearing The Space
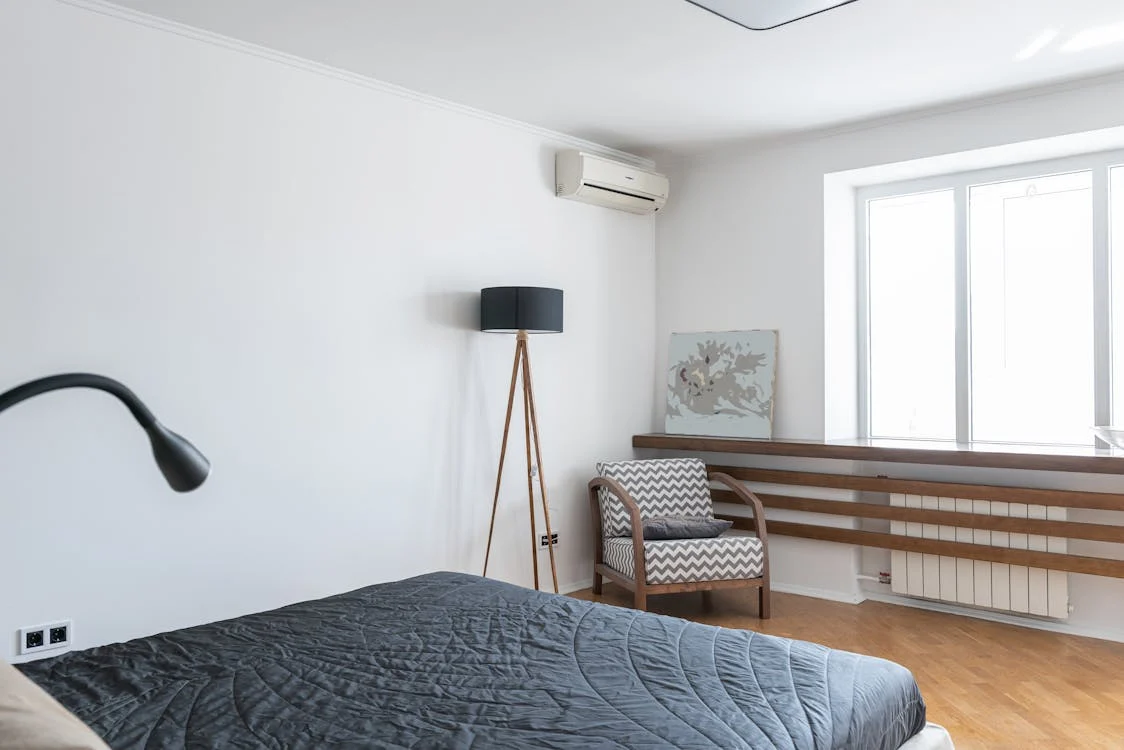
First things first, you need to create room to move. This means getting as much stuff out of the way as possible. Think about it: the less you have to work around, the easier it will be to paint, and the less likely you are to accidentally get paint on your favourite armchair. Move furniture to the centre of the room and cover it with drop cloths. If possible, take smaller items out of the room altogether. This is a crucial part of home painting preparation.
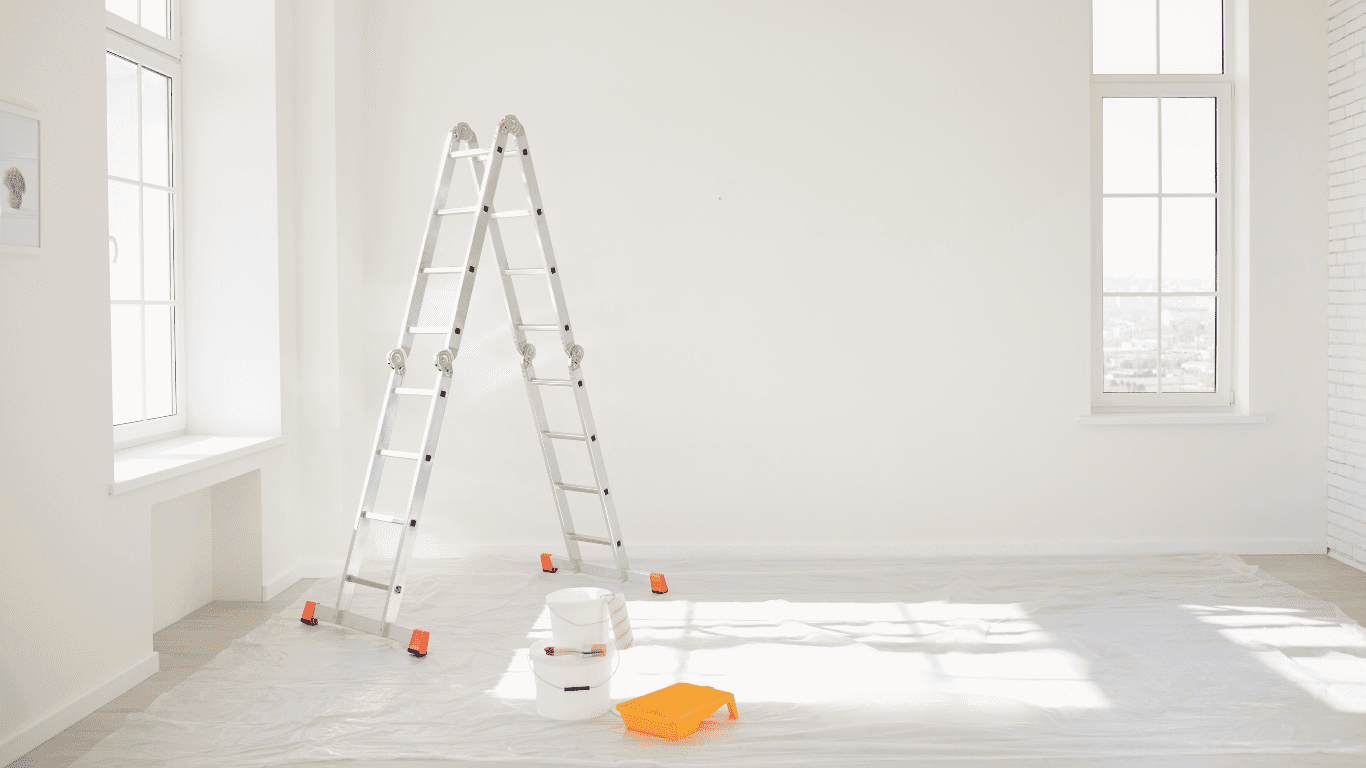
Taping And Protecting Surfaces
Next up, it’s time to protect anything you don’t want painted. This is where painter’s tape becomes your best mate. Use it to mask off trim, windows, door frames, and any other areas where you want a clean line. Lay down drop cloths or plastic sheeting to protect your floors. This step is all about preventing unwanted paint splatters and ensuring a professional-looking finish. It’s a key part of any painting checklist.
Repairing Damages Before Painting
Before you even think about cracking open a tin of paint, take a good hard look at your walls. Are there any holes, cracks, or dents? Now’s the time to fix them. Use some filler to patch up any imperfections, let it dry, and then sand it smooth. This will give you a nice, even surface to paint on. Ignoring these little blemishes is one of the common prep mistakes homeowners make before painting.
Skipping this step can lead to an uneven paint job and can even cause the paint to peel or crack over time. Taking the time to repair any damage will not only improve the look of your paint job but also extend its lifespan.
So, to answer the question, do you need to clean your house before painters arrive? Absolutely! And preparing walls for painting is more than just wiping them down. It’s a comprehensive process that sets the stage for a great paint job. Follow these best paint preparation techniques, and you’ll be well on your way to a beautifully painted home. This painting surface preparation guide will help you avoid headaches down the road. And remember, if you’re not sure about something, it’s always a good idea to consult with a professional. They can offer valuable home painting tips and ensure that your how to prep your home for painters process is smooth and stress-free.
Creating A Clean Canvas

Before you even think about dipping a brush into that paint tin, you’ve gotta make sure you’re working with a clean surface. Think of it like this: you wouldn’t try to build a house on a shaky foundation, would you? Same goes for painting. A clean surface is essential for the paint to stick properly and give you that smooth, professional finish we’re all after. So, how do you get there? Let’s break it down.
Cleaning Surfaces Thoroughly
First things first, give everything a good scrub. I mean everything. Walls, skirting boards, architraves – the lot. You’d be surprised at the amount of dust, grime, and general muck that builds up over time. This step is crucial because paint won’t adhere well to dirty surfaces.
- Use a sugar soap solution (you can grab this from any hardware store). It’s great for cutting through grease and general household dirt.
- For stubborn stains, like crayon marks or scuffs, try a slightly stronger cleaner, but always test it in an inconspicuous area first to make sure it doesn’t damage the existing paint.
- Rinse thoroughly with clean water and let everything dry completely before moving on to the next step. No one wants trapped moisture ruining their paint job.
Removing Old Paint
Got flaky, peeling paint? It’s gotta go. Painting over it is just asking for trouble down the line. You’ll end up with an uneven finish, and the new paint will likely peel off along with the old. So, how do you tackle it?
- Scraping: A good quality paint scraper is your best friend here. Gently scrape away any loose or peeling paint. Be careful not to gouge the surface underneath.
- Heat Gun: For larger areas or tougher paint, a heat gun can work wonders. The heat softens the paint, making it easier to scrape off. Just be mindful of ventilation and wear appropriate safety gear.
- Chemical Strippers: As a last resort, you can use chemical paint strippers. These are pretty potent, so always follow the manufacturer’s instructions carefully and wear gloves and eye protection. Ensure adequate ventilation.
Sanding For Smoothness
Once you’ve cleaned and removed any loose paint, it’s time to sand. Sanding helps to create a smooth, even surface for the new paint to grip onto. It also helps to blend any imperfections, like small dents or scratches.
- Use a medium-grit sandpaper (around 120-grit) for general sanding. For very rough surfaces, you might need to start with a coarser grit (80-grit) and then work your way up to a finer grit.
- For previously painted surfaces in good condition, a light sanding with a fine-grit sandpaper (220-grit) is usually sufficient.
- Remember to sand in the direction of the grain (if there is one) to avoid creating unsightly scratches.
After sanding, wipe down all surfaces with a tack cloth to remove any dust. This is a really important step, as any remaining dust will create a bumpy finish. You can buy tack cloths from most hardware stores, or you can make your own by dampening a lint-free cloth with mineral spirits.
By taking the time to properly clean, remove old paint, and sand your surfaces, you’re setting yourself up for a paint job that looks great and lasts for years to come. Trust me, it’s worth the effort!
Organising Your Space For Efficiency
Getting your home ready for painting isn’t just about the painting itself; it’s also about setting up the space so the job can be done efficiently and safely. A well-organised area means less time spent moving things around and more time spent painting, leading to a quicker and better result. Let’s look at how to get your space prepped like a pro.
Moving Furniture Safely
Before the painters arrive, you’ll want to move your furniture. The best approach is to clear the room entirely if possible. If that’s not an option, move everything to the centre and cover it with drop cloths. This gives the painters plenty of room to move around and prevents accidental paint splatters. Make sure to lift furniture carefully to avoid scratching floors or damaging walls. If you have particularly heavy items, consider getting a friend to help or hiring professional movers. This is especially important if you’re planning on residential painting yourself.
Removing Wall Hangings
Take down any pictures, mirrors, or other decorations hanging on the walls. This includes removing nails and hooks. You can either fill the holes now or leave it for the painters to do. Don’t forget to remove window treatments like blinds or curtains, too. This ensures a clean, even paint job and prevents any damage to your belongings. Store everything carefully in a safe place until the painting is complete.
Preparing Electrical Fixtures
Electrical fixtures need some attention before painting begins. Remove switch plates and outlet covers. It’s much easier to paint neatly without them in the way. If you’re painting the ceiling, take down light fixtures or cover them securely. Turn off the power at the breaker before messing with any electrical components. Safety first! This step is often overlooked, but it makes a big difference in the final result.
By taking the time to organise your space properly, you’re not only making the painting process easier for the professionals, but you’re also protecting your belongings and ensuring a smoother, more efficient job overall. It’s a win-win situation for everyone involved.
Choosing The Right Products
Okay, so you’re ready to get painting. But hold up! Before you slap any old paint on the walls, let’s talk about products. Getting this right can make or break your whole project. It’s not just about the colour; it’s about quality, type, and the right tools for the job. Trust me, spending a bit more upfront can save you a heap of headaches (and money) down the track.
Selecting High-Quality Paint
Using good paint is super important for a professional finish. But what makes paint ‘high-quality’? It’s more than just the price tag. Here’s what I look for:
- Reputable Brands: Go for brands known for consistent quality. Do a bit of research, read reviews, and see what the pros use.
- Low VOC Content: VOCs (Volatile Organic Compounds) aren’t great for your health or the environment. Low-VOC paints are the way to go.
- High Pigmentation: More pigment means better coverage. You’ll need fewer coats, which saves time and money.
- Suitable for the Job: Is it for a bathroom? A kid’s room? Different paints are designed for different environments. Bathroom paint, for example, needs to be mould-resistant.
Understanding Primer Usage
Primer: it’s not just something paint companies try to upsell you. It’s actually pretty important. Think of it as the foundation for your paint job. It helps the paint adhere properly, covers stains, and can even help with colour consistency.
Skipping primer is like building a house on sand. You might get away with it for a while, but eventually, things will start to crack.
Here’s when you should always use a primer:
- New plasterboard: Plasterboard is super absorbent, so primer is a must.
- Painting over dark colours: Primer helps block the old colour from bleeding through.
- Stained surfaces: Primer can seal in stains and prevent them from showing through the new paint.
- Glossy surfaces: Primer helps the paint grip onto slick surfaces.
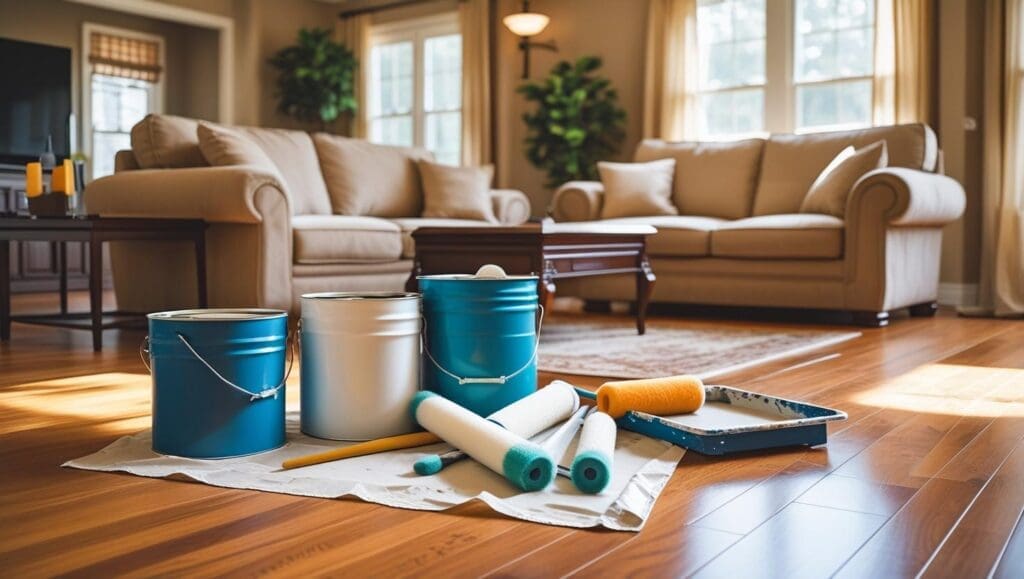
Investing In Proper Tools
Using the right tools makes a world of difference. You wouldn’t try to build a deck with just a hammer, would you? Same goes for painting. Here are some essentials:
- Good quality brushes: Cheap brushes leave bristles in your paint and don’t hold paint well. Invest in a few good ones in different sizes.
- Rollers: Get a decent roller frame and a few different nap lengths for different surfaces. A smooth surface needs a short nap; a textured surface needs a longer nap.
- Paint trays and liners: Makes pouring and using paint easier, and liners make cleanup a breeze.
- Drop cloths: Protect your floors and furniture. Canvas drop cloths are reusable and more durable than plastic.
- Painter’s tape: For crisp, clean lines. Don’t skimp on this – cheap tape can let paint bleed through.
The Benefits Of Professional Preparation
Why bother with all the prep work? Well, getting your home ready for a paint job isn’t just about appearances; it’s an investment that pays off in several ways. Let’s look at why professional preparation is worth it.
Ensuring Long-Lasting Results
Proper preparation is the foundation for a paint job that stands the test of time. Think of it like this: you wouldn’t build a house on a shaky foundation, would you? The same goes for painting. When surfaces are properly cleaned, repaired, and primed, the paint adheres better and is less likely to peel, chip, or blister. This means you won’t be reaching for the paint brush again in a hurry. How long does interior painting last? It depends on the room and paint quality, but with good prep, you’re setting yourself up for the long haul. Regular maintenance, including touch-ups, helps preserve the paint’s look.
Enhancing Aesthetic Appeal
It’s not just about longevity; it’s about looks too! A well-prepared surface ensures a smooth, even finish. No one wants to see bumps, cracks, or imperfections showing through their fresh coat of paint. Professional preparation includes sanding, filling holes, and addressing any surface issues, so your paint job looks flawless. The colour appears richer, the finish is more uniform, and the overall result is a space that looks polished and professional. If a professional finish is important to you, it’ll need to be the highest quality paint and gear you can afford.
Reducing Future Maintenance
Think of professional preparation as preventative maintenance. By addressing potential problems before painting, you’re minimising the risk of issues down the track. This means fewer touch-ups, less frequent repainting, and lower overall maintenance costs. For example, sealing cracks prevents moisture from seeping in and causing damage, while proper cleaning inhibits mould and mildew growth. It’s a stitch in time that saves nine, as they say.
Here’s a quick rundown of how preparation saves you effort later:
- Prevents peeling and chipping, reducing the need for touch-ups.
- Seals surfaces to protect against moisture damage.
- Inhibits mould and mildew growth, keeping your home healthier.
- Ensures a smooth, even finish that lasts longer.
Final Touches Before Painting
Alright, you’ve put in the hard yards. The prep work is done, and you’re almost ready to see those walls transformed. But before you crack open the paint tin, let’s run through a few final checks to make sure everything is spot on. These last steps can make a big difference to the final result, and save you from headaches later on. Let’s get into it.
Inspecting The Area
Give everything a good once-over. Are all surfaces still clean and dust-free? Did any sneaky cobwebs reappear overnight? Check the taping around windows, doors, and trim to ensure it’s still secure and hasn’t lifted anywhere. It’s also worth checking for any missed spots during your repair work. Look for imperfections that might show through the paint. Addressing these now will give you a much better finish.
Final Clean-Up
Even if you cleaned thoroughly before, a bit of dust can settle. Vacuum or sweep the floors one last time, especially around the edges of the room. Wipe down any surfaces that might have collected dust. This is especially important if you’ve been sanding. A clean environment helps the paint adhere properly and prevents unwanted textures in your finish. If you’re using our painting services, we’ll always do this; if not, it never hurts to double-check.
Setting Up For The Painting Team
If you’ve hired professional painters, make their job as easy as possible. Clear a path from the entrance to the room being painted. Make sure they have access to power outlets and water if needed. Discuss any specific instructions or preferences you have before they start. This ensures everyone is on the same page and helps the painting process go smoothly. It’s also a good idea to confirm the paint colours and finishes one last time to avoid any surprises.
Remember, good preparation is the key to a great paint job. Taking the time to do these final checks will pay off in the long run with a beautiful, long-lasting finish. Now, you’re ready to paint!
Before you start painting, it’s important to make sure everything is ready. Clean the surfaces well and fix any holes or cracks. This will help the paint stick better and look great. If you want to learn more about how to prepare for your painting project, visit our website for tips and advice!
Final Thoughts on Preparing for Your Paint Job
Getting your home ready for a professional paint job doesn’t have to be a hassle. By taking some time to prep, you can really make a difference in how the final result looks. Clear the space, tape up edges, and fix any damage before the painters arrive. This not only helps the paint stick better but also makes sure it looks great for longer. At Contrast Painting, we’re all about making the process smooth and easy for you. We’re here to help you every step of the way, so don’t hesitate to reach out for a quote or advice. With a bit of preparation, you’ll be well on your way to a fresh, beautiful home.
Frequently Asked Questions
What should I do to prepare my home for painting?
To get ready for painting, clear the area of furniture and fragile items, tape edges, and fix any damage on the walls.
Why is surface preparation important?
Preparing the surface helps the paint stick better, which makes the finish look smoother and last longer.
Can I paint over old paint?
Yes, but make sure the old paint is clean and in good condition. If it’s peeling or damaged, it’s best to remove it first.
What type of paint should I use?
Choose high-quality paint that suits the room. For example, use washable paint in kitchens and bathrooms.
How do I choose the right primer?
Use primer if you’re painting over dark colours, stained walls, or new surfaces. It helps the paint adhere better.
Should I hire professional painters?
If you want the best results, hiring professionals is a good idea. They have the skills and tools to do the job right.