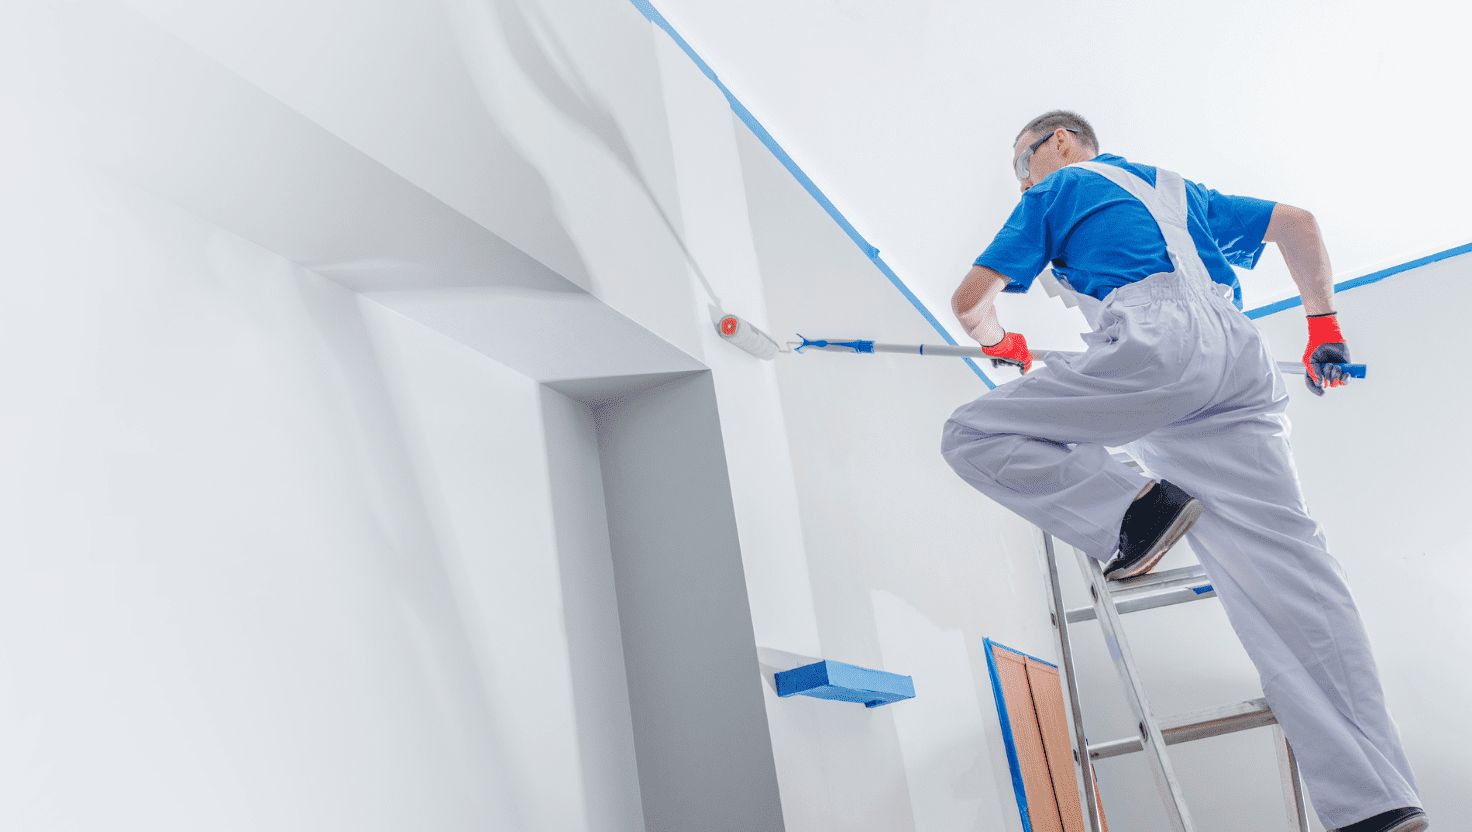
If you’ve seen on TV some renovation show, you maybe feel like a DIY project would be nice. Painting your house is an ambitious project, and if you don’t have a lot of experience with this type of full-scale interior painting, it can be difficult to know where to start. We’re going to help with some basic preparation tips that will allow you to avoid mistakes and messes while speeding up your painting job.
1. Get the Room Ready & Protect the Floor
First, make sure that there isn’t anything in your way so you can paint the same wall in one go. Very important: protect the floor by using some dropsheets.
2. Prepare the Walls
Your walls and other surfaces must be ready prior painting. Clean the surface – make sure there’s no dirt or cobwebs, and scrub away any dark marks or stains. Then fix any problems that the surface may have: This includes sanding down bumps and filling in cracks or holes.
3. Using Quality Tools
Don’t get the ‘whatever’ attitude. If you’re going to do it yourself, you’d better get it done right. So, the right tools for the job. That includes filling blades, paint scraper; brush, roller, pot, tray, gap gun, masking tape. Also, step ladder, dropsheet for protection and plastic (tip no5).
4. Pick the Right Roller
Let’s say you go shopping at Dulux. You’ll find yourself in front of an overwhelming number of different rollers. We recommend to use a 4mm nap for doors, 11mm nap for smooth walls and longer nap for rougher surfaces (brick walls or rendered…).
5. Watch for Your Furniture
Trust us on this one, the little spot you leave unprotected, the paint will somehow find its way there, 100% sure! Get some cheap plastic sheets or blankets and cover your furniture and tables. Don’t forget to cover the TV as well!
6. Remove Light Switches and Outlet Cover
Don’t forget this a critical step! Don’t try to paint around these parts. They’re generally too slim to paint around them effectively, even with finer brushes. Use your scraper and take them off, you will be able to very quickly paint around the holes instead. This saves a whole lot of time. Put a bit of masking tape on top of the switches, it prevents the buttons getting marked with paint dripping from the roller.
7. Knife the Tape
This point is only painting a feature wall in a different colour and you feel safer using masking tape. Once the tape applied, go back over it with a blade or knife and push it a bit more so the air underneath goes away. You will obtain a much better result and sharper line. We recommend you use a low duct tape, it prevents from pulling off the paint when removing the tape.
8. Start With a Primer (if needed)
If you had to do a fair amount of patching to bring back the wall to life, then it would be better to undercoat it before you apply the actual paint on top. It helps the paint stick better. Also, you might have to deal with a wall damaged by water leak. It generally happens if you have a shower or a tap on the other side of the wall. In that case, you’d better have the leak fixed first.
9. Stir the Paint
This is really important. Sometimes, the tint hasn’t been mixed properly and you’d end up with some weird lines in the middle of your walls. Prevent this easily by stirring the paint.
10. Let the Paint Dry
Before removing the dropsheets, plastic and your equipment you’ll need to let the paint dry so you won’t throw dust on a fresh wall. The only thing you might want to take off while the paint is still fresh is the masking tape.
We are here to help, call us today and we’ll be on our way.


